Archive
Linux Server – Task 6: Installing WordPress Et Al.
Course
Linux palvelimena [Linux server] by Tero Karvinen at Haaga-Helia University of Applied Sciences
Task
Install WordPress on top of LAMP (installed previously). Modify the WordPress installation to include selected four customizations from the task list.
Testing environment
OS: Xubuntu Linux 13.10 “Saucy Salamander” 32-bit (persistent live USB drive)
System: HP EliteBook 2570p Notebook PC
Preparing the installation environment
I had already installed LAMP previously using my own instructions (in Finnish). I had also enabled Apache name-based virtual hosting, so I was able to use a www address locally for testing purposes, instead of just typing localhost/~xubuntu/ in the Firefox address bar.
Creating a database for WordPress
I began by logging into the MySQL server monitor by entering $ mysql -u root -p in the terminal emulator. I then created a new database for WordPress with the proper privileges by entering the following command in the terminal prompt:
CREATE DATABASE wpxubuntu;
GRANT ALL PRIVILEGES ON wpxubuntu.* TO wpxubuntu@localhost IDENTIFIED BY "password";
FLUSH PRIVILEGES;
After this I exited the MySQL monitor by typing exit and hitting enter.
Installing WordPress
First I navigated to my www home folder (see Apache name-based virtual hosting) folder by entering $ cd /home/xubuntu/public_html/jannevaris.com in the terminal. Next I downloaded the WordPress tarball with $ wget https://wordpress.org/latest.tar.gz.
I extracted the tarball with $ tar -xf latest.tar.gz, and moved the files in the now-present wordpress folder to the jannevaris.com folder with $ mv wordpress/* ../jannevaris.com/. I then deleted the obsolete wordpress folder and the tarball with $ rm -r wordpress and $ rm latest.tar.gz.
1. I navigated to jannevaris.com in Firefox, and was presented with a page about creating a configuration file:

2. I clicked “Create a Configuration File” to move forward. An instruction page was presented:
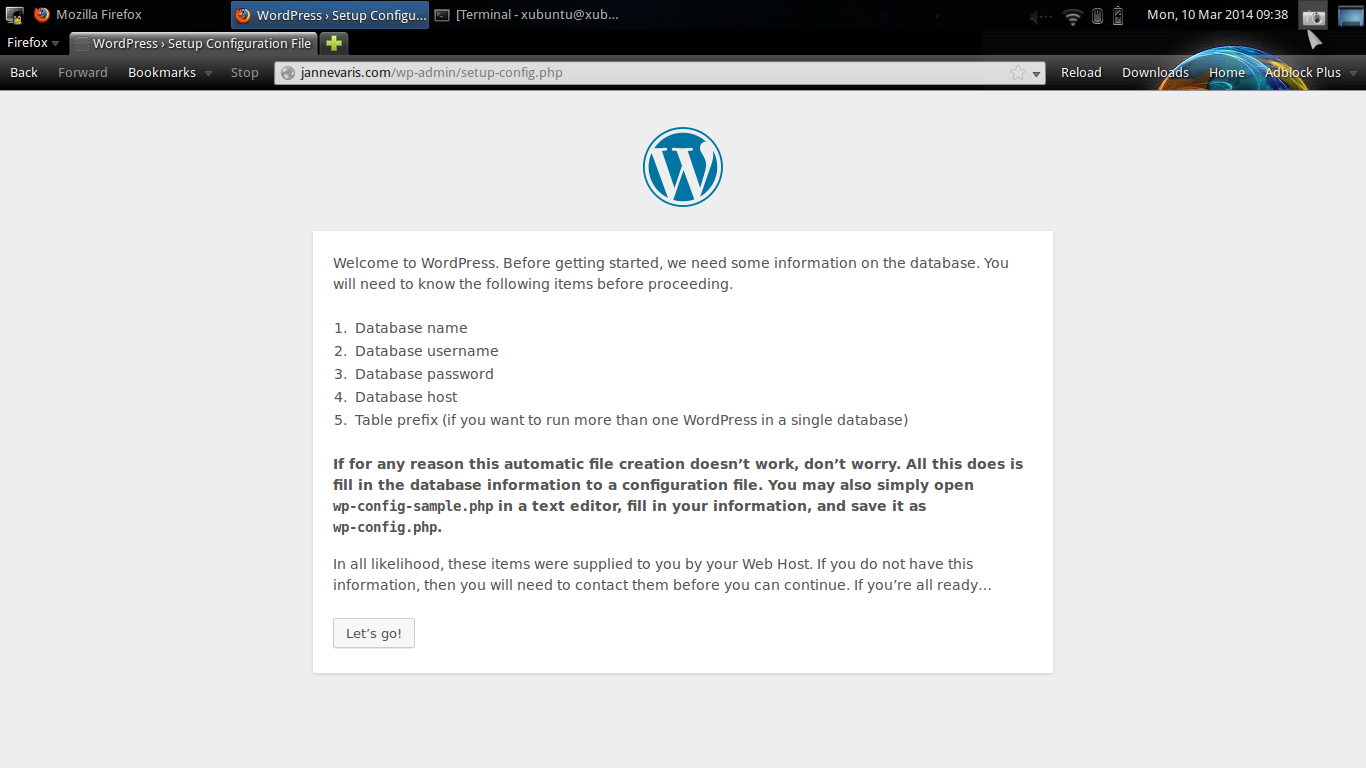
3. I clicked “Let’s go!” to move forward. A database connection details page was presented:

4. I filled in the details and clicked “Submit”. A prompt page followed:

5. I needed to create a WP config file, so I copied the code from the Firefox page and switched back to the terminal emulator, and ran $ ls in the jannevaris.com folder – no configuration file existed yet, apart from a sample named wp-config-sample.php, which I renamed in to wp-config.php by entering $ mv wp-config-sample.php wp-config.php in the terminal.
I opened the file for editing with $ nano wp-config.php and deleted all the existing code, after which I pasted the copied code in the file. I saved the changes and returned to the Firefox page, clicking “Run the install” to move forward.
6. An information-needed page was presented:

7. I filled in the details and clicked the “Install WordPress” button at the end of the page. Success!
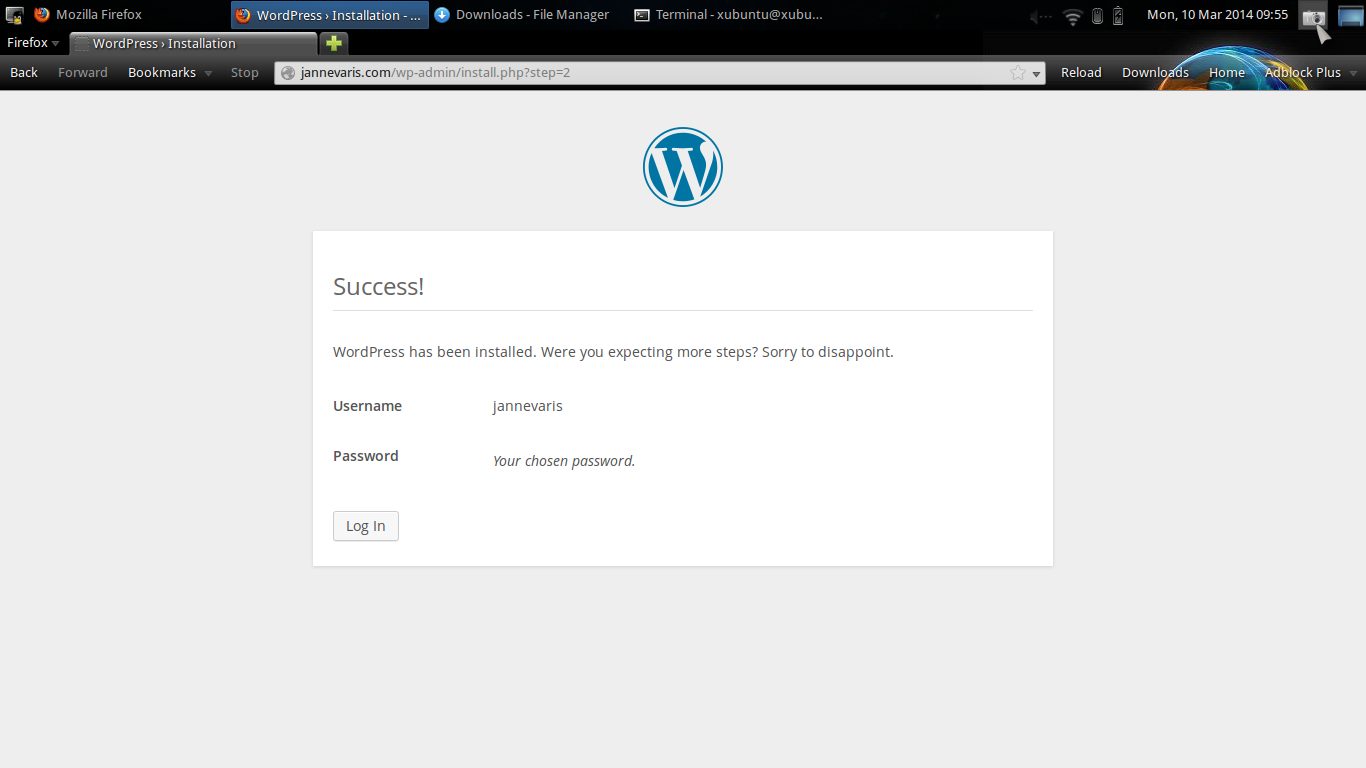
8. WordPress was now installed, and I could now move forwards to the login page:

9. Now I simply logged in and made a test post locally:

10. Task complete.
Enabling permalinks
First I navigated to Settings –> Permalinks in the local WP control panel, then I selected “Day and Name” and saved the changes. To complete the task, I still had to create a .htaccess file in the same folder as the rest of the WP files. I created the file with $ nano .htaccess, and added the code presented by WordPress in the Permalinks options:
<IfModule mod_rewrite.c>
RewriteEngine On
RewriteBase /
RewriteRule ^index\.php$ - [L]
RewriteCond %{REQUEST_FILENAME} !-f
RewriteCond %{REQUEST_FILENAME} !-d
RewriteRule . /index.php [L]
</IfModule>
Then I ran the following in the terminal:
$ sudo a2enmod rewrite
$ sudo service apache2 restart
After this the links worked correctly and looked cleaner, without any extra characters or markers.
Changing the theme
I navigated to the Appearance menu in the WP control panel and selected Themes. After this I changed the active theme to a theme named Twenty Twelve.
Enabling and adding images
Next I wanted to add images to my local WP test site, so I tried uploading one via Media –> Add New in the WordPress control panel. I received the following error:
“os_tux.png” has failed to upload due to an error
Unable to create directory wp-content/uploads/2014/03. Is its parent directory writable by the server?
Which meant that I didn’t have the necessary rights to the folder required the upload process. I fixed the issue by navigating to wp-content in the jannevaris.com folder by entering $ cd wp-content/ in the terminal, and then running $ mkdir uploads and $ chmod 777 uploads/. After this I was able to uploaded the images to my local WordPress installation without any problems, and also attach them to my test posts.
Backing up WordPress content
I made backups of the content via Tools –> Export in the WordPress control panel. Once in the Export menu, I selected “All Content” and then clicked the “Download Export File” button to download the backup file to local folder.
The file format is xml. This particular file was named janne039swordpresstest.wordpress.2014-03-10.xml.
References
WordPress Codex (http://codex.wordpress.org/)
Karvinen, Tero: Lessons 2014-3-3, Linux palvelimena [Linux server] (http://terokarvinen.com/2013/aikataulu-%E2%80%93-linux-palvelimena-ict4tn003-11-ja-12-kevaalla-2014)
About
This document can be copied and edited according to the GNU General Public License (version 3 or newer). http://www.gnu.org/licenses/gpl.html
Based on a course by Tero Karvinen, http://www.iki.fi/karvinen
